Using the Instrument Parameter Controls

The Instrument Parameter Controls for soundfont/SFZ instruments, seen above, can be found above the virtual keyboard once it has been opened by pressing either the Open Virtual Keyboard ![]() button or the Arm
button or the Arm ![]() button, both found on the instrument track's Channel Strip.
button, both found on the instrument track's Channel Strip.
These controls allow you to adjust the playback characteristics for the selected instrument. What's more, they can all have an LFO (Low Frequency Oscillator) Modifier applied to them to modify their levels rhythmically over time.
NOTE. It is very important to realize that these parameters, and the ability to change them as you'd expect, can very much depend on the way they have been defined and set within the soundfont/sfz itself by its creator. As such, these controls have been designed to give you the best experience possible but please be aware that you may not always get the results expected because of this feature of soundfonts and SFZs. This is also the reason why some of the control dials might not have the initial positions you'd expect with such controls.
The functions controlled by these parameter dials are as follows.
- Attack controls the length of time it takes for a note to reach its maximum volume from silence. A short attack means an 'instant' loud note and a long attack means a slow fade-in from silence as notes are pressed.
- Decay controls the length of time it takes for a note to fall from its maximum volume level to the Sustain level.
- Sustain sets the volume level upon which a note will settle as long as the key is pressed long enough, or the event is long enough on the piano roll.
- Release controls how long it takes for a note to fade to silence once the key is lifted, or the event ends on the piano roll. A quick release will cause the note to stop 'immediately' upon the release of the key and a slow release will mean the the note slowly fades away to silence.
NOTE. These four controls form the ADSR Volume Envelope for the instrument. For more information about ADSR envelopes and volume envelopes please refer to the Evolution One section, here.
- Cutoff controls the cutoff frequency point for a Low Pass Filter. When fully to the right, it is letting all frequencies through to be heard. The more it is moved to the left, the more high frequencies are filtered out until, on the left, only the lowest frequencies pass through the filter to be heard.
- Resonance, when increased, causes the Low Pass Filter to boost the volume of the frequencies around the Cutoff Frequency point. The higher the Resonance level, the more pronounced this volume spike is.
NOTE. For more information about Low Pass filters and Resonance, please refer to the Evolution One section, here.
- Fine Tune allows you to control the fine tuning/pitch of your instrument. This can be useful if, for example, you've created your own instrument, but the initial sample, and therefore all of your instrument's notes, wasn't, and aren't, quite in tune. Altering this fine tuning control can make the adjustment necessary for the instrument to be in tune with other virtual, and real, instruments.
To use the dials, touch, hold and slide on them to move them and alter the parameter's level. Once you've touched the dial, you can slide out of the way of the dial so you're not obscuring it with your finger as you change the level, if necessary. Alternatively, double tapping the control's dial will open the instrument parameter Options seen here.
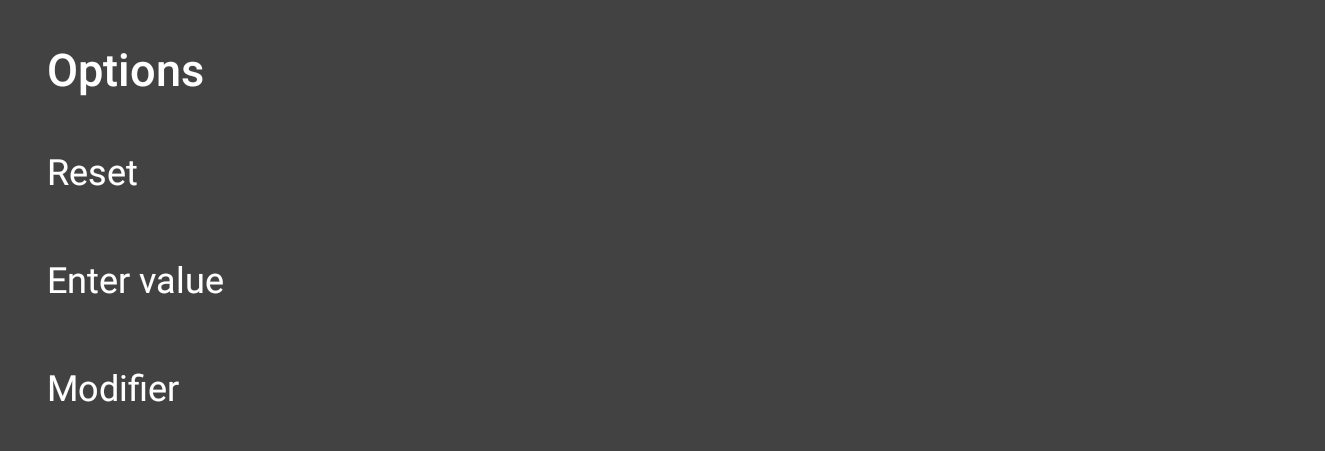
Selecting Reset will reset the dial to its default level. Enter value will open an input dialog, allowing you to enter a numerical value for the level of the dial, giving you much greater accuracy when required. Selecting Modifier will show you the modifier options for that parameter. For all of these parameters, the only option is LFO. Selecting LFO opens the LFO dialog seen here.
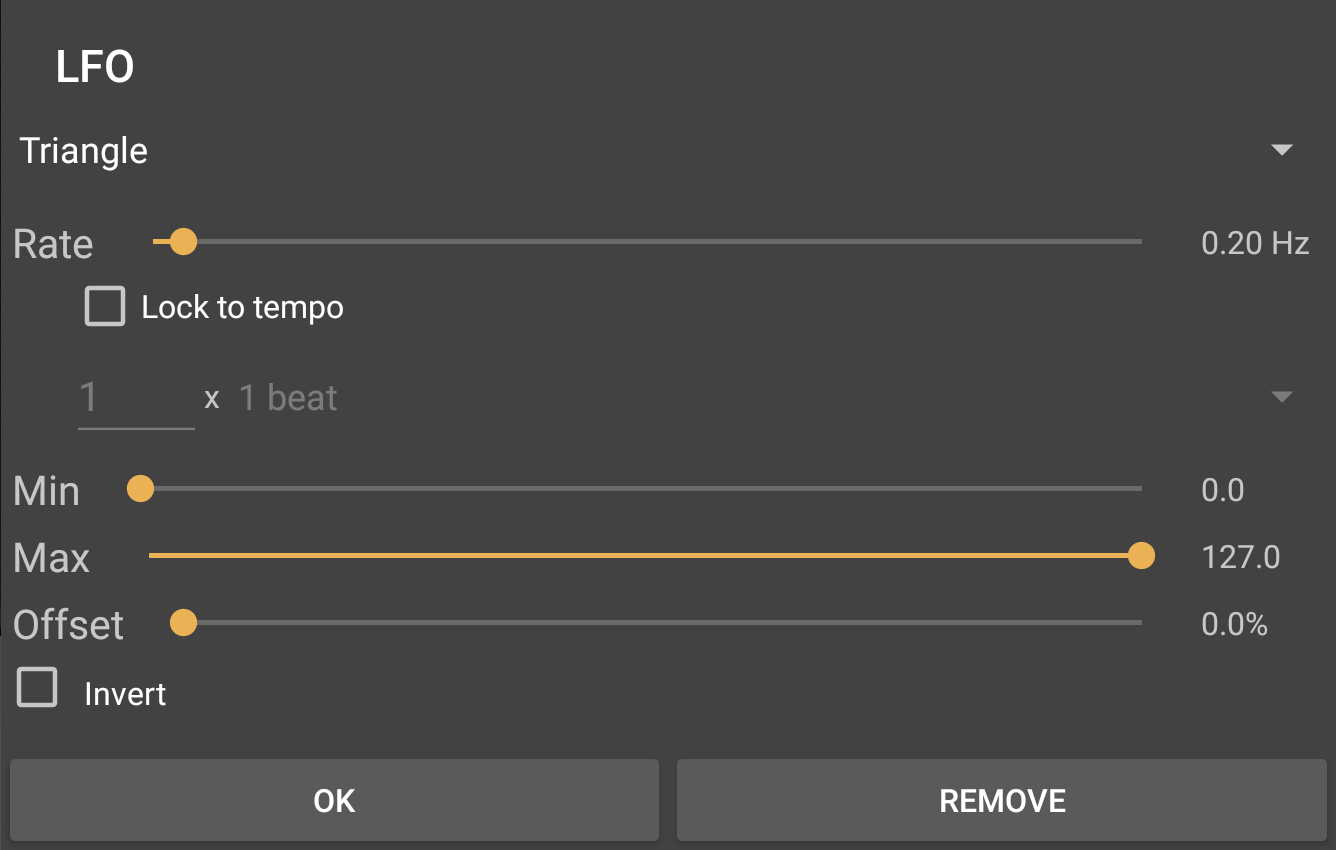
As can be seen, this is where you can define the characteristics for the LFO (Low Frequency Oscillator) which will be used to modify the level of the parameter over time. At the top is the drop-down list to select the LFO waveform shape (Saw, Sine, Square, or Triangle). Next is the Rate of the modulation. This can be set using the slider using a value of Hz (Hertz) or you can Lock to tempo using the checkbox shown. Once locked to tempo, the tempo increment options used for this 'locking to' will become available (they are grayed out in the screenshot above). The tempo increments available are between 1 bar and 1/32 triplet beat, with 24 and 25 frames per second also available. Once a tempo increment has been selected, you can then enter the number of that increment to use for the LFO duration before it starts again. So, for example, if you enter '2 x 1 bar', the LFO modifier will take the 2 bars to complete one full cycle before starting again. Next, the Min and Max sliders allow you to set the minimum and maximum levels for the parameter, between which the LFO modifier will move. Below them, the Offset slider allows you to adjust the starting point on the LFO waveform for the cycle to begin from. Finally, the Invert checkbox, when selected, inverts the LFO waveform (turns it upside down). Click OK to apply the LFO modifier to control the parameter. Opening this dialog again for the same parameter will allow you to alter the settings if required and can also be used to Remove the modifier completely. When a parameter is being modified by an LFO it will be indicated like this ![]() and you will also see the parameter level moving in real time according to the LFO setting. When playback is started from the beginning of the project, the LFO will be reset to start afresh according to the LFO settings above. If playback is started from elsewhere in the project, from the current location of the Time Marker
and you will also see the parameter level moving in real time according to the LFO setting. When playback is started from the beginning of the project, the LFO will be reset to start afresh according to the LFO settings above. If playback is started from elsewhere in the project, from the current location of the Time Marker ![]() , the LFO will start from the position at which it would have been at that point on the timeline had it begun freshly at the beginning of the project. This means you can rely on the aural effects of the modulation always being heard at the same time within the project during playback and export.
, the LFO will start from the position at which it would have been at that point on the timeline had it begun freshly at the beginning of the project. This means you can rely on the aural effects of the modulation always being heard at the same time within the project during playback and export.
NOTE. If these instrument parameters are changed during recording, when in Touch mode, those changes will be recorded as Automation. After recording has finished, they can be accessed, and edited, via the Automation ![]() mode. Simply select the relevant parameter from the list of options for the recorded automation to be displayed. Automation for these parameters can also be created manually without the need for anything to be recorded. Please be aware, though, that none of this will not be possible for parameters which already have a modifier applied to them: modifiers override automation. As such, if you want to apply automation to parameters with modifiers, you will first need to remove the modifier. For more information on automation, please see here.
mode. Simply select the relevant parameter from the list of options for the recorded automation to be displayed. Automation for these parameters can also be created manually without the need for anything to be recorded. Please be aware, though, that none of this will not be possible for parameters which already have a modifier applied to them: modifiers override automation. As such, if you want to apply automation to parameters with modifiers, you will first need to remove the modifier. For more information on automation, please see here.