General Layout and Controls
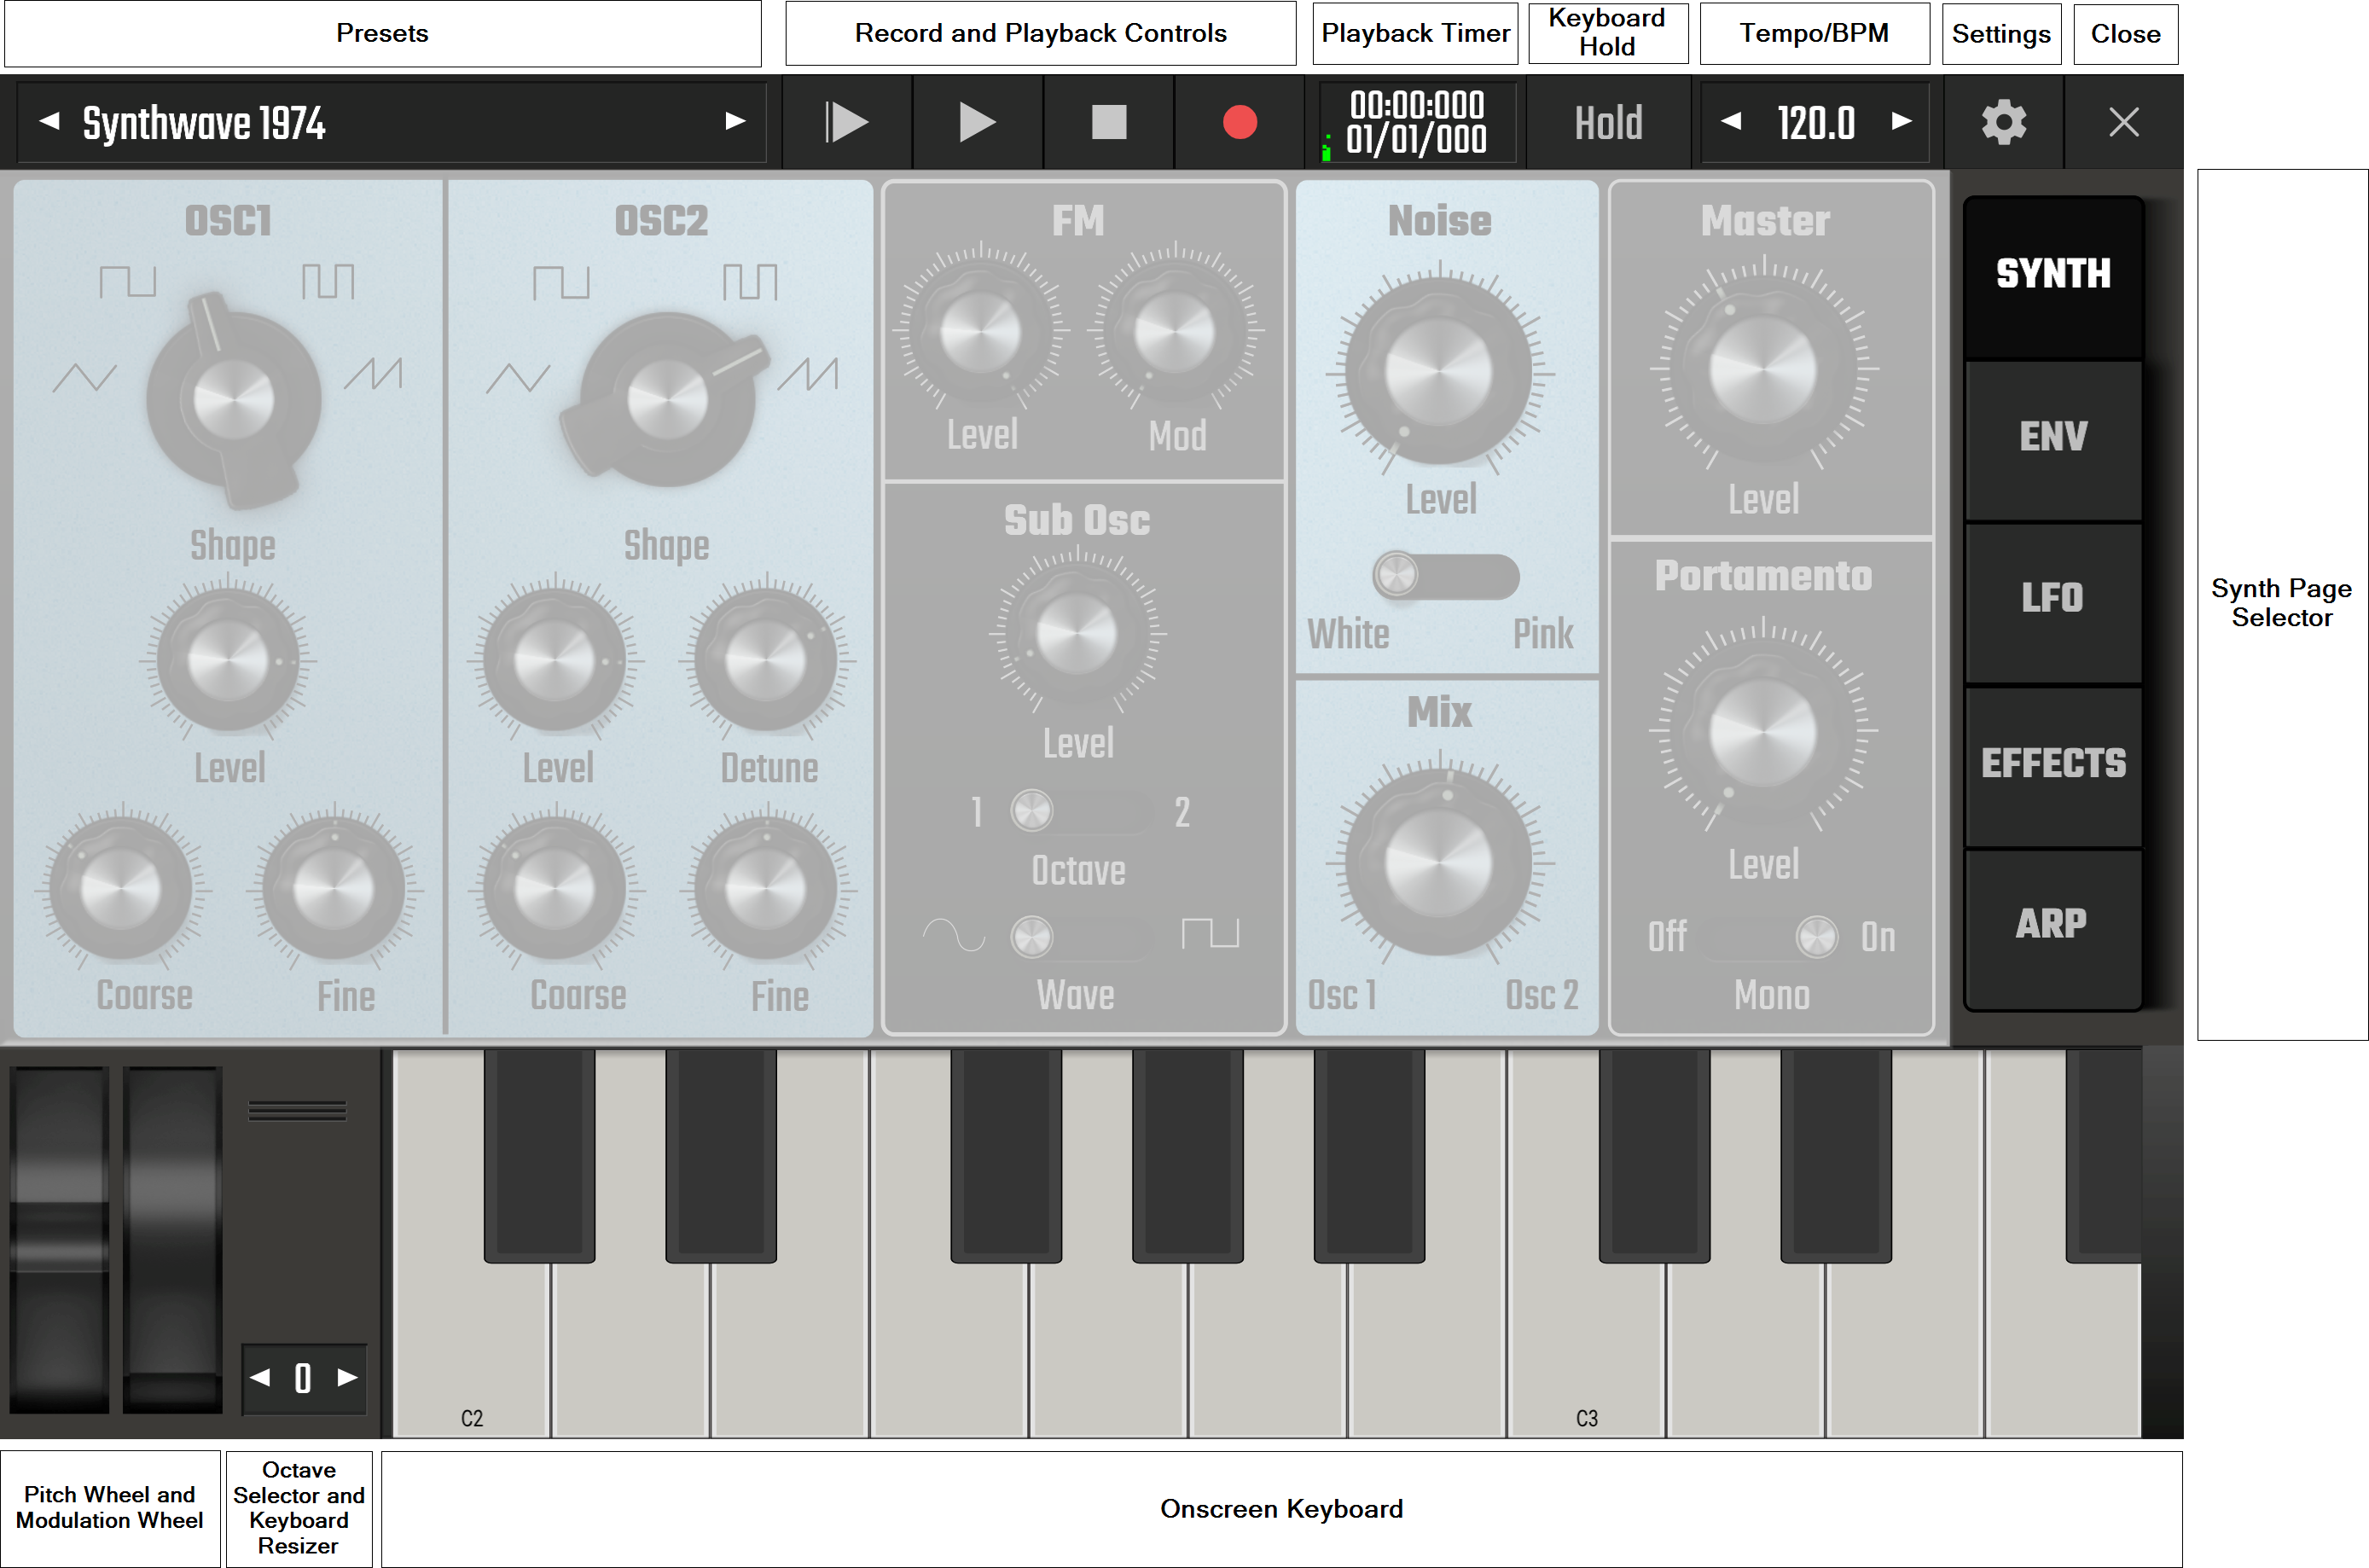
Evolution One has five pages of controls which occupy the center of the Synth Screen display. These pages will be covered individually. This section will explain the general controls indicated on the image above.
Presets Panel 
The Presets Panel displays the currently selected preset and allows you to load and save other presets. The arrow buttons allow you to move back and forth through the currently selected preset bank without opening the full presets panel.
Tap the Presets Panel where the name is displayed to bring up the Load/Save Preset pop-up.
- Clicking on Load preset will open the Preset Selection Panel seen here.
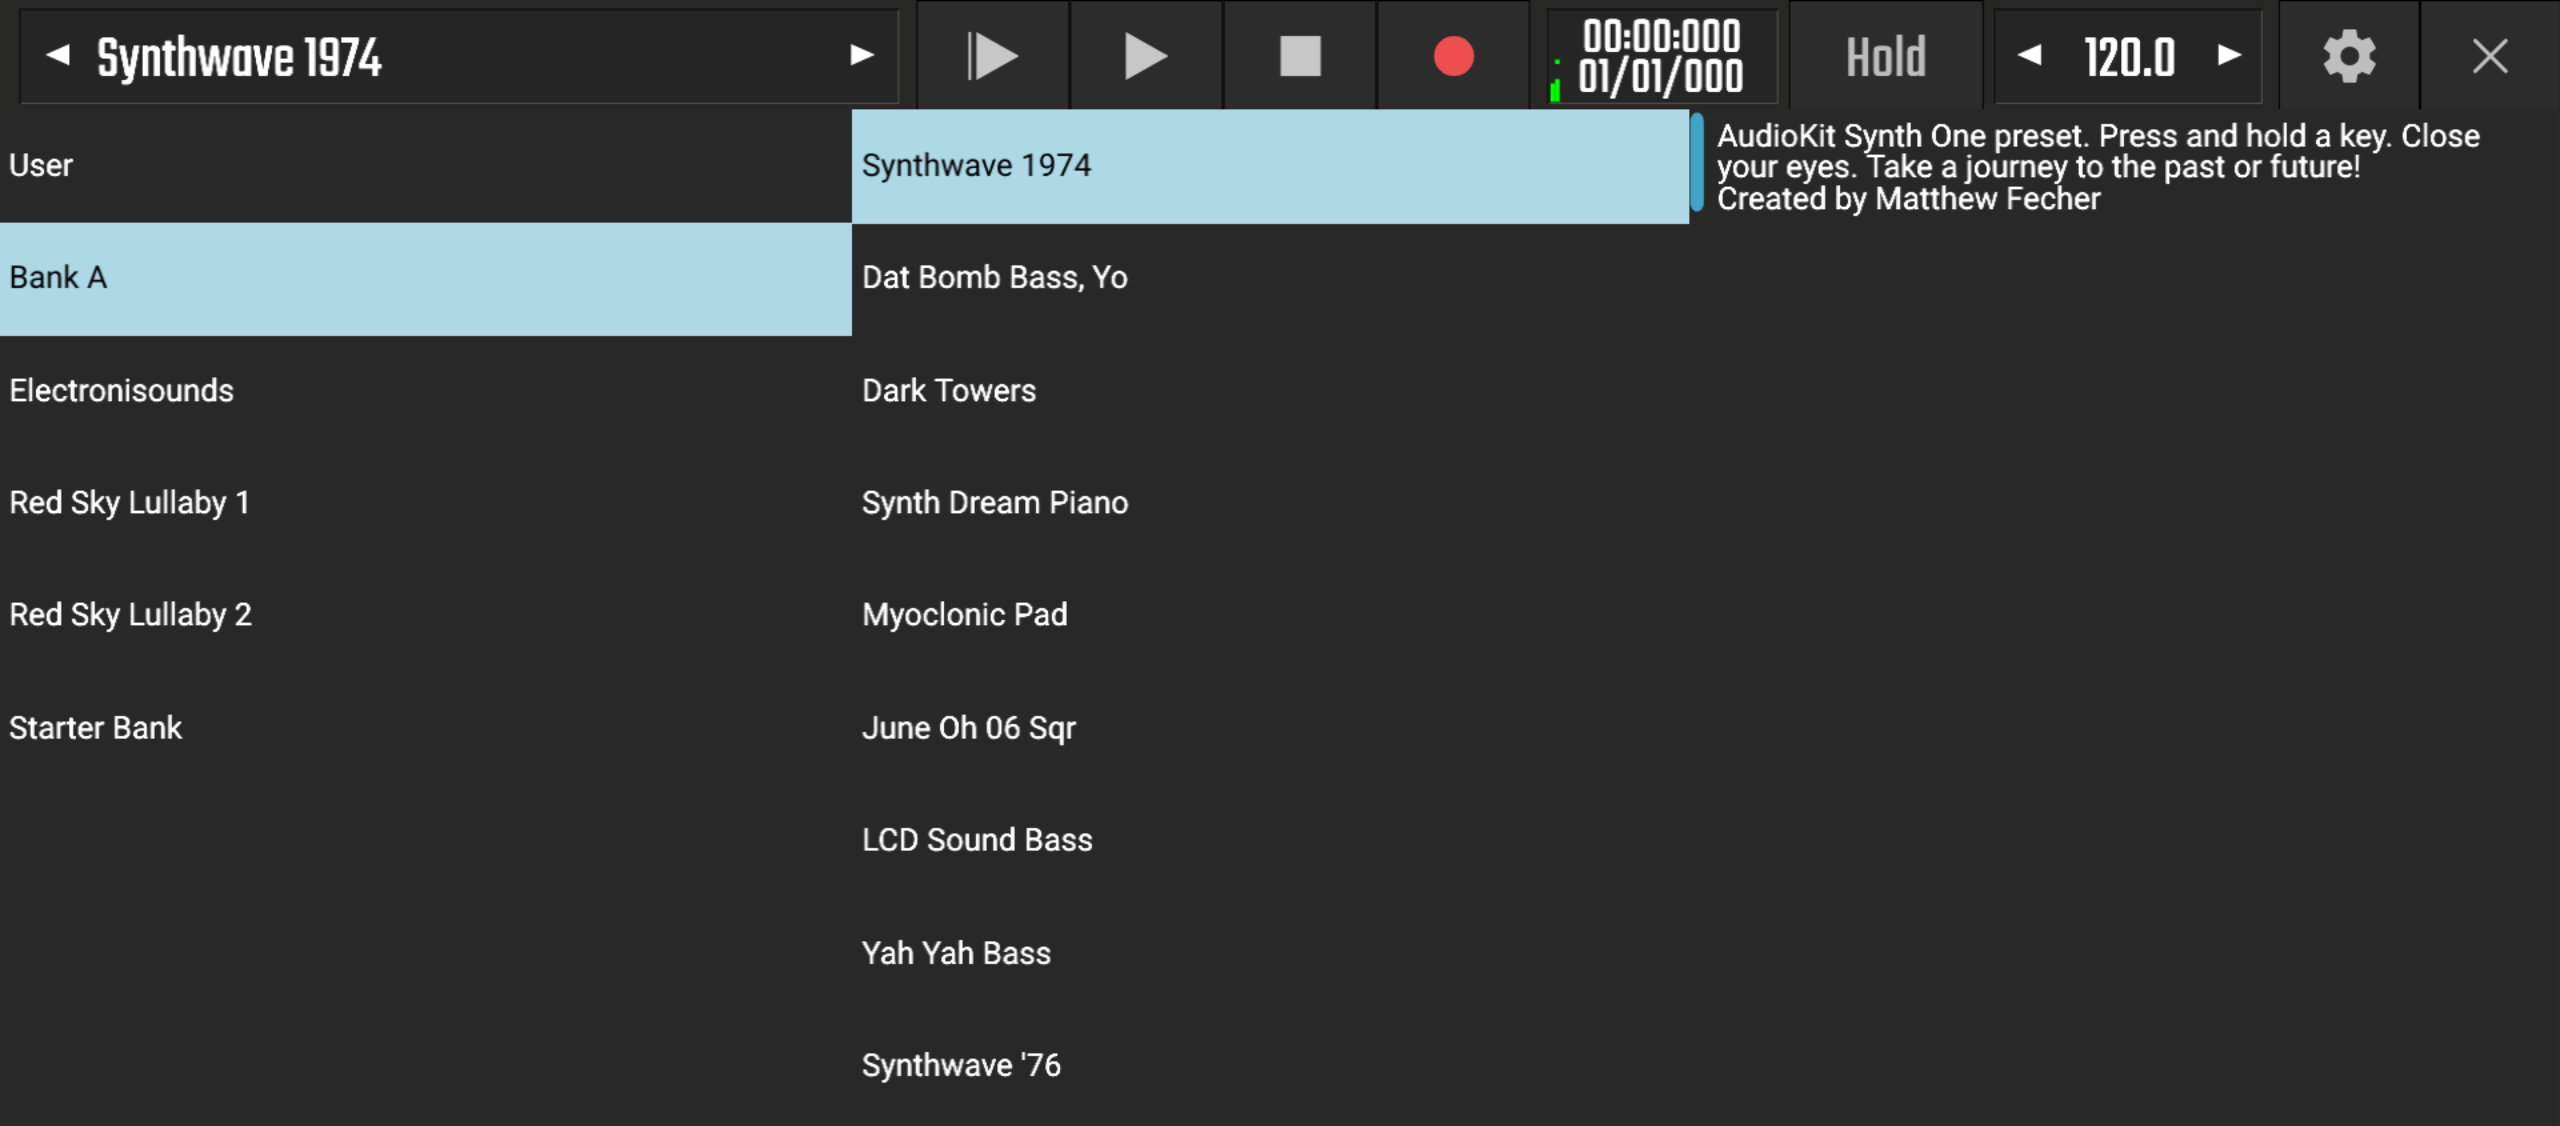
Here you can select your desired preset from the many included with Evolution One. Select the Bank from the list on the left and the individual preset from the list in the middle. Some presets also contain a brief description on the right.
If you want to begin designing your synth sound from a very basic, single waveform starting point, check out the Starter Bank which has such starting point presets, ready for you to load and build from. It also contains many other basic synth presets for you to use and improve upon.
Once you have created and saved your own presets, they can be found in the User bank.
After you've loaded your chosen preset you can close the Presets Panel by clicking on the preset name in the top panel or by pressing the X/Close button.
- Clicking on the Save preset option from the Load/Save Preset pop-up opens the Save dialog.
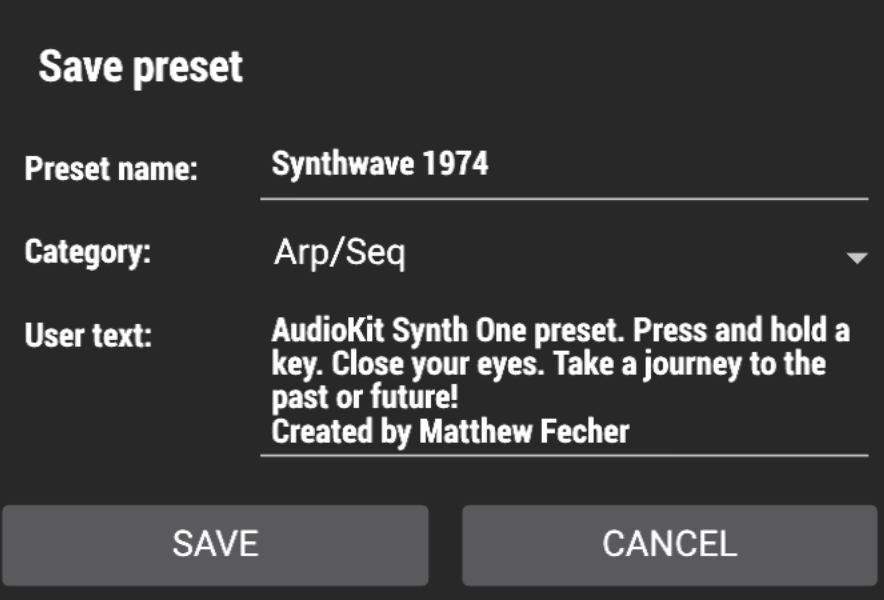
This allows you to enter the name of your preset, select its sound catagory and enter any text you wish to keep with it.
Record and Playback Controls 
The Evolution One interface allows you to record the synth, via the onscreen keyboard or connected MIDI keyboard, without leaving the synth screen. As can be seen it also allows you to playback and stop your project as well as playback the project from the beginning using the button on the left.
Playback Timer 
The Playback Timer displays the current position in the project. The top counter shows the time in minutes, seconds and milliseconds. The bottom counter shows the time in bars (or measures), beats and ticks (the resolution is 192 ticks per beat) according to the project Tempo settings. It also displays the current value when the synth parameter dials and sliders are being changed. Lastly, if you have them selected in the synth Settings, this is where the CPU Usage and synth Volume Levels will be displayed - CPU usage on the left, Volume levels on the right. The CPU meters show the CPU usage of the synth itself (left meter) and the overall CPU usage (right meter).
Keyboard Hold 
If this button is lit, any key you press on the on-screen keyboard will continue to play until you press the same note again or deactivate the Hold mode.
Tempo/BPM 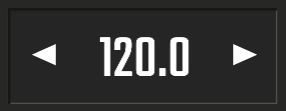
This displays the currently selected project tempo as a BPM (Beats Per Minute) value. Use the arrow buttons to shift one-by-one if necessary. Alternatively click on the Tempo display to open the following dialog.
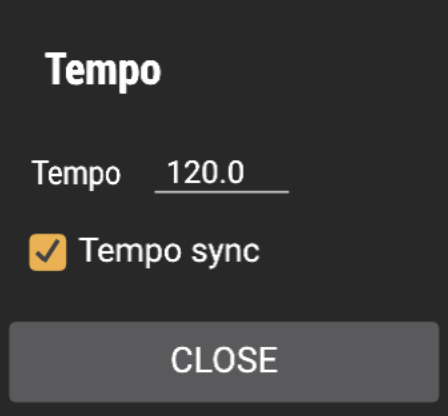
This dialog allows you to enter the Tempo manually. It is also where you can select and deselect Tempo Sync. Tempo sync can be a very important feature as it determines whether the Rate of the LFOs and Auto Pan and the Delay Time are synced to increments of the tempo or can be set independent of the tempo.
Settings 
Clicking on the Settings button opens the Settings panel seen here.

These settings give you various options for the currently selected preset and for the synth overall.
The Mod Wheel Control allows you to select which parameter the modulation wheel modulates for the currently selected preset. You can choose between Filter Frequency, LFO 1 Rate, LFO 2 Rate, LFO 1 Amount or LFO 2 Amount.
Pitchbend Min and Pitchbend Max allow you to set the minimum and maximum amount of pitch bend applied by the Pitch Wheel for the current preset. The maximum range available is -24 to +24 semitones.
The Mono is Legato checkbox relates to the Portamento section on the Synth Page where Mono mode (where only one note can be played at a time) can be switched on and off. Legato is a musical term meaning 'tied together' and indicates that notes should be played smoothly and are connected with no silence in-between. Turn on Mono is Legato for the current preset in these settings and use the switch on the Portamento panel to switch Mono mode on. Now, if a keyboard key is touched and held while the next note is touched, the synth will continue to use the first note's Amp Envelope for the next, and subsequent notes instead of appliying a fresh amp envelope for each new note as it would when in Mono mode with Mono is Legato turned off.
Mono is Legato is more easily heard having an effect with some presets than others. This is due to the particular Amp Envelope and Filter Envelope settings used. To hear what it does, try loading the Basic Lead preset from the Starter Bank. Mono mode is already active for this preset but Mono is Legato is not turned on. Open this Settings panel and check the box to turn Mono is Legato on. Press and hold a keyboard key while you repeatedly touch and lift off another key: you'll hear how the second note continues to use the first note's amp envelope rather than firing its own every time it is pressed. As soon as the first note is no longer held and released, the synth will use a new envelope for the next key pressed.
Rotary Control determines how the movement of your finger on the screen will control the synth control dials. There are four options: Rotary, Horizontal Drag, Vertical Drag and Horizontal and Vertical Drag. Rotary will make the dials react to your touch as if they are real dials. Horizontal Drag lets you touch, hold the dial and slide from side to side to raise or lower the dial. Vertical Drag allows you to do the same but requires you to slide your finger up and down to control the dial. Lastly, Horizontal and Vertical Drag allows you to touch, hold and slide both side to side and up and down.
The High Quality checkbox allows you to turn off high quality mode for the synth if your device is struggling to handle the CPU load. Evolution One is a high quality virtual synthesizer but this does mean that it can be rather resource hungry at times. If you have an older or a less powerful device, you might find that High Quality has been automatically turned off in anticipation of such problems. Having High Quality turned off is usually imperceptible with most presets when listening through device speakers.
NOTE. The important thing to remember is that any audio rendered from Evolution One, whether when exporting or when freezing a track, is always rendered at the highest quality possible regardless of whether High Quality is turned on or not. Having High Quality turned off will not lower the quality of the final, rendered audio.
The Show CPU Usage checkbox determines whether the CPU usage meters are displayed to the left of the Playback Timer or not. The CPU meters show the CPU usage of the synth itself (left meter) and the overall CPU usage (right meter).
The Show Volume Level checkbox determines whether the volume output levels for the synth are displayed to the right of the Playback Timer or not.
The Vertical Velocity checkbox enables you to activate and deactivate the vertical velocity mode for the synth onscreen keyboard. When active, where you touch the keyboard keys determines the velocity (loudness) of the note playback. The further up you touch the key, the softer, the quieter, the note will sound. When this mode is deactivated, the keyboard keys trigger the notes at full velocity regardless of where you touch them.
Close 
The X/Close button closes the Evolution One screen and returns you to the Audio Evolution Mobile Arranger Screen. It can also be used to close the Presets Panel once you have loaded your selected preset.
Synth Page Selector 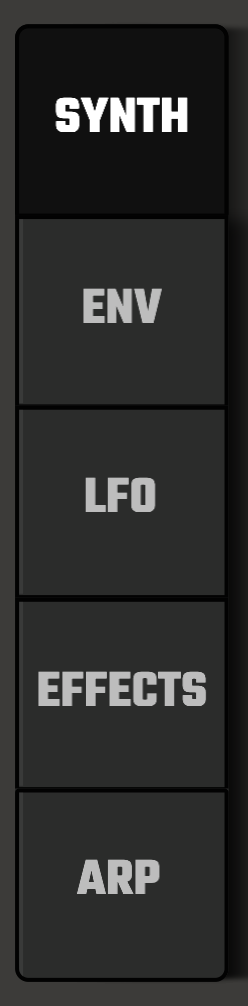
These buttons allow you to navigate between the different Evolution One Pages.
Onscreen Keyboard 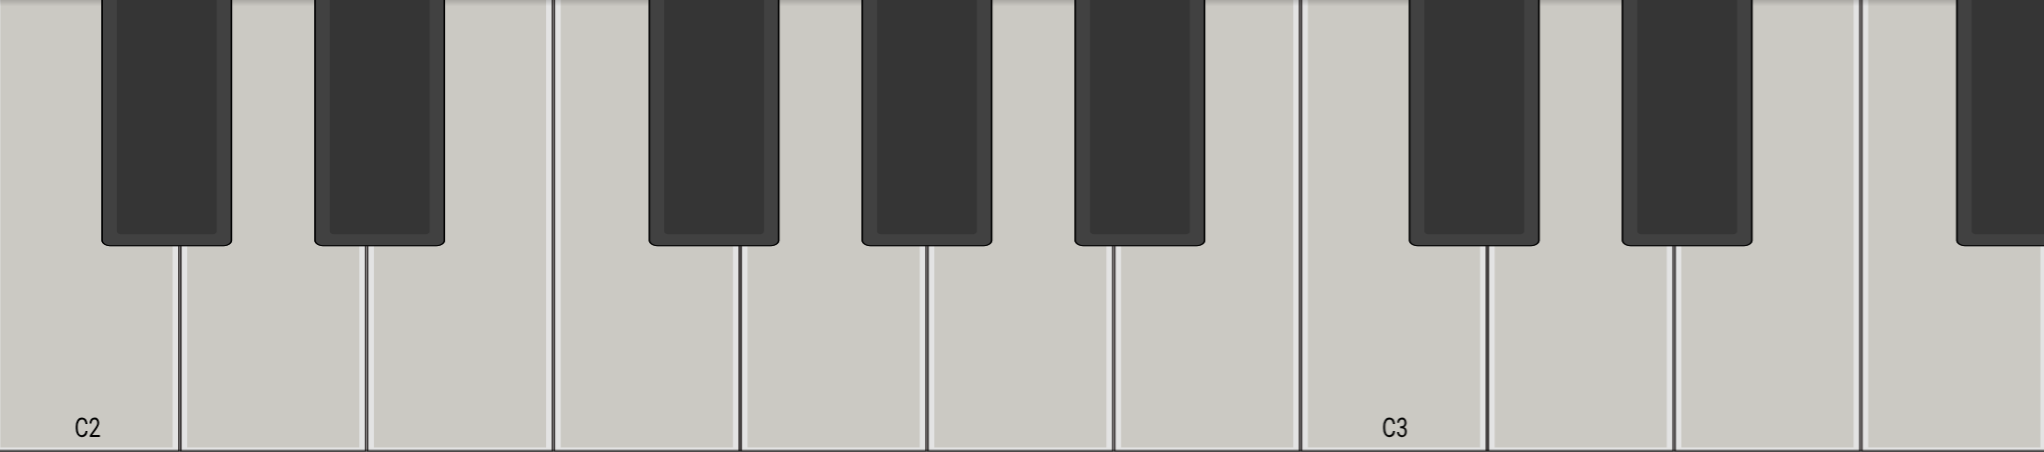
This keyboard can be used to play the synthesizer. You can also connect an external MIDI keyboard should your device and MIDI keyboard meet the requirements. For more information on this see here.
Octave Selector and Keyboard Resizer 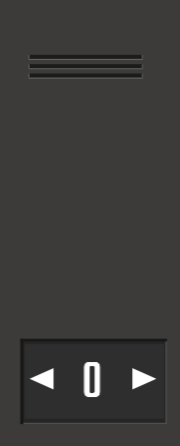
The Octave Selector allows you to change the note range displayed on the onscreen keyboard. Above the Octave Selector, touching, holding and sliding the three line handle will resize the onscreen keyboard to your requirements.
Pitch Bend Wheel and Modulation Wheel 
The Pitch Bend Wheel, on the left, allows you to bend the pitch of the currently playing note or notes in real time. The minimum and maximum pitch bend applied is defined per preset in the synth Settings described above. The Pitch Bend Wheel is 'spring loaded' so that it always returns to the note's actual pitch once released.
On the right, the Modulation Wheel, or Mod Wheel, allows you to apply more or less of the type of modulation selected for the preset in the synth settings in real time. The Mod Wheel is not 'spring loaded' and will remain where you put it. Keep it all the way down if you don't want any modulation applied.