Vocal Tune Studio First Use Setup
The first time you launch Vocal Tune Studio Standalone/AUv3 you will guided through the following steps. So that the Vocal Tune Studio folder is automatically created on your device before you load the AUv3 plug-in, it is recommend that you launch the app first in its standalone format by tapping its icon on your home-screen after installation.
To use Vocal Tune Studio, you will need to grant it permission to use your device's microphone when you are shown the following system pop-up. Usually this will be shown first, before any of the other steps.
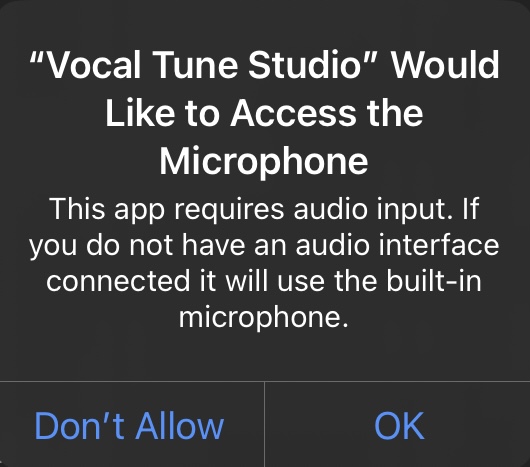
Click on OK to continue.
The first thing you will be shown is a setup dialog as seen here.
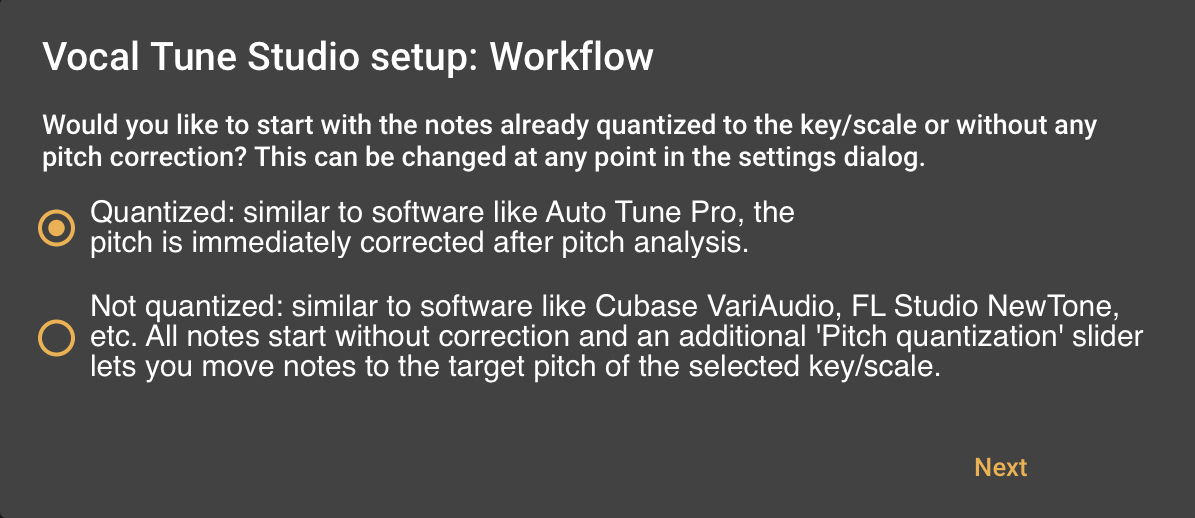
As you can see, this allows you to setup the workflow in which Vocal Tune Studio Pitch and Time correction mode will run. These modes can be selected between in the app so don't worry if you're not sure which to pick. Quantized is the default mode for Vocal Tune Studio and automatically applies pitch correction after the audio has been analyzed, which can then be edited - like within Auto Tune Pro. Not quantized starts without any pitch correction applied and gives you an additional slider for Pitch Quantization which allows you to move the identified notes towards their target pitch within the selected key and scale - like within Cubase VariAudio. This manual generally deals with Vocal Tune Studio being used in quantized mode but full information about 'Start without pitch correction' for Pitch and Time mode can be found here.
Select your preferred workflow mode and tap Next.
The next thing you'll be shown depends on whether you have launched Vocal Tune Studio for the first time as a standalone app (recommended) or as an AUv3 plug-in. If, you are using the standalone version, you will not see the following dialog and, instead, it will be shown to you when you first load Vocal Tune Studio as an AUv3 plug-in. If you have launched the app first as an AUv3 plug-in the next thing you'll see is the following setup dialog shown here.

As can be seen, this dialog asks you to choose the folder on your device which you would like the Vocal Tune Studio AUv3 to use to store the files it creates when you record into it to enable it to directly process the audio (as described here). Pressing Select storage folder will open the device Files app. You can create your own folder ![]() specifically for Vocal Tune Studio AUv3 (recommended) or navigate to an existing folder.
specifically for Vocal Tune Studio AUv3 (recommended) or navigate to an existing folder.
As the dialog says, you can also choose the 'Vocal Tune Studio' folder automatically created by the standalone app when it is first launched however it is really important to be aware that, just as with all iOS applications, folders created automatically by an app will be deleted, including all user data when the app is uninstalled. As such, the Vocal Tune Studio folder created by the standalone app will be deleted if you uninstall the app. This will mean that, if you chose it as the storage location for the AUv3 plug-in, instances of Vocal Tune Studio AUv3 saved within host projects will not be able to access their saved data should you reinstall and launch those projects. Therefore, if you choose the Vocal Tune Studio folder created by the standalone app, please be sure to backup the Vocal Tune Studio folder BEFORE you uninstall the app so that you can copy files back into the newly created Vocal Tune Studio folder when the app is reinstalled.
If you create your own folder specifically for the AUv3 plugin (using the create new folder button in the Files app ![]() ), it will not be deleted if the app is uninstalled as it was created by you and not automatically generated by the app itself. As such, this is the recommended option. Remember to navigate to and select that folder again when you reinstall the app and this dialog is shown.
), it will not be deleted if the app is uninstalled as it was created by you and not automatically generated by the app itself. As such, this is the recommended option. Remember to navigate to and select that folder again when you reinstall the app and this dialog is shown.
NOTE. Please do ensure that you do not create a new folder within an existing folder created automatically by any app as then you would run into the same deletion problem should that app be uninstalled. Create a new folder in the On My iPAD/iPhone ![]() location.
location.
You can re-select the folder used for AUv3 storage at any time using the option within the Three Dot Button ![]() options within the AUv3 plug-in.
options within the AUv3 plug-in.
Press Select storage folder, create or navigate to a folder on your device and press Open at the top right.
Then press Next on the above dialog.
The next thing you'll see is the following Vocal Tune Studio Introduction. This comprises of six screens with pieces of information to familiarize you with the Vocal Tune Studio UI. It is recommended that you look at all six. Use the white arrow on the right of the interface to move to the next part of the introduction.
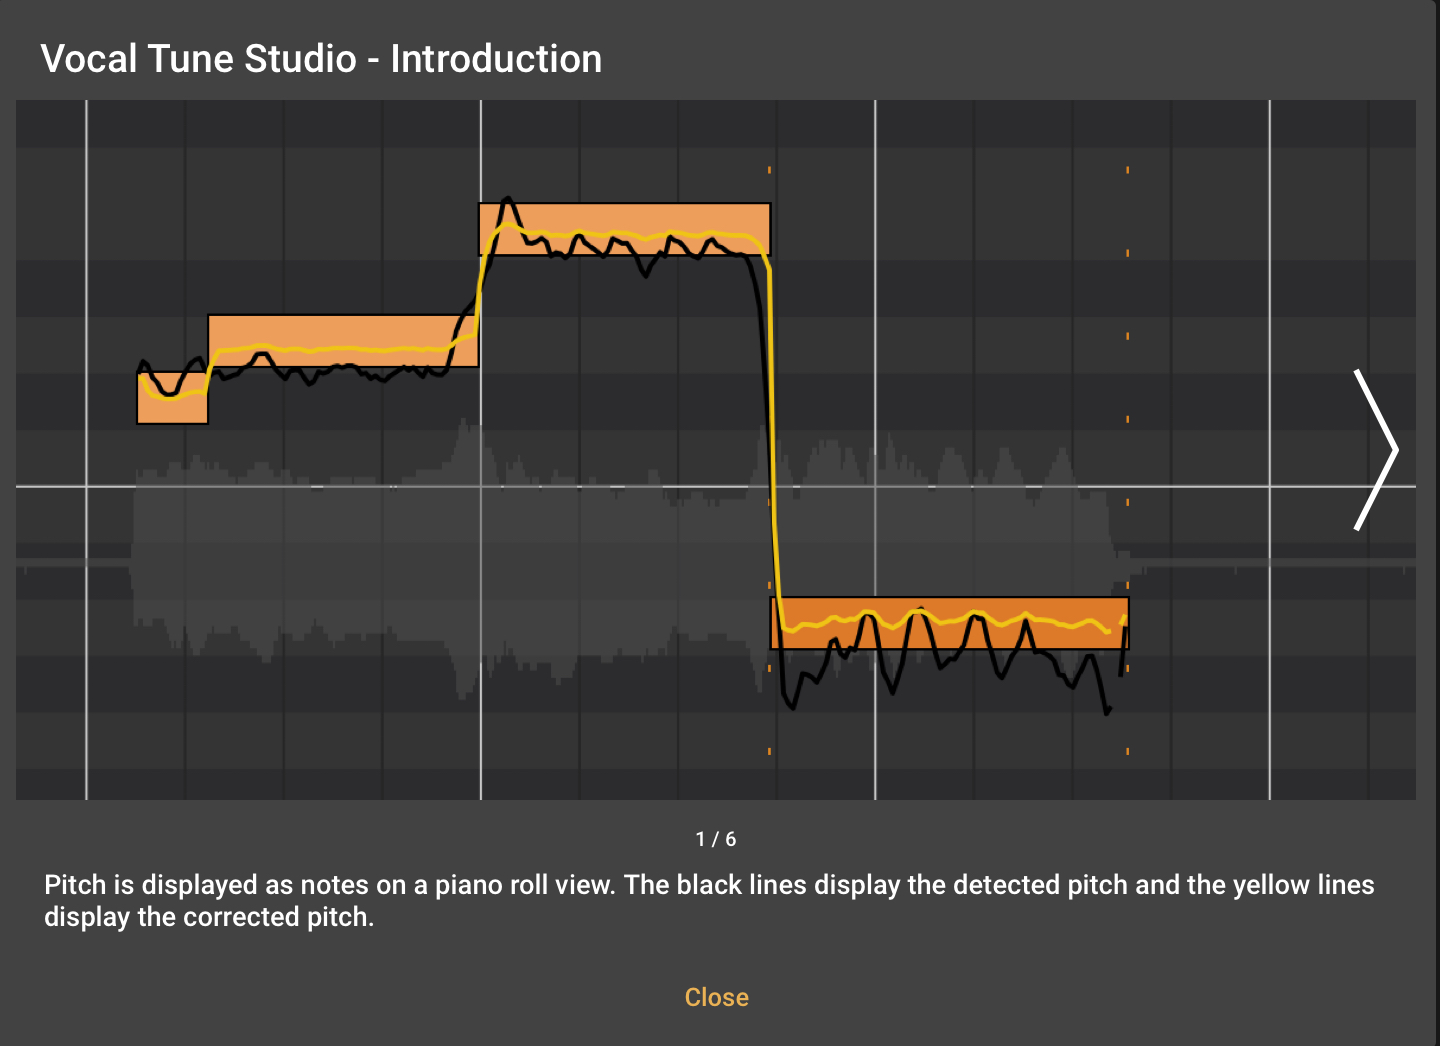
Once you have looked at all six tap on Close to proceed.
If you are opening Vocal Tune Studio for the first time in standalone mode, as recommended, you will then see the following piece of advice.

This advice is self-explanatory but it is worth pointing out that one of the big benefits using Vocal Tune Studio as an AUv3 plug-in has over using it in standalone mode is that you can properly set up your time signature and tempo within the host application and the Vocal Tune Studio plug-in will follow these settings within its display. This will mean that, for example, bar lines are drawn in the correct place which can be very useful when carrying out time correction on your audio.
Click on Ok to dismiss the pop-up.
Now, you will be asked to choose which mode you would like Vocal Tune Studio to open in - Pitch and time correction mode or Time correction only mode. After this first use setup, under normal usage, this dialog is the the first thing you'll see every time you open Vocal Tune Studio in standalone or as an AUv3 plug-in (unless you have selected Always start in Pitch and Time mode in the Settings available via the Three Dot Button ![]() ).
).
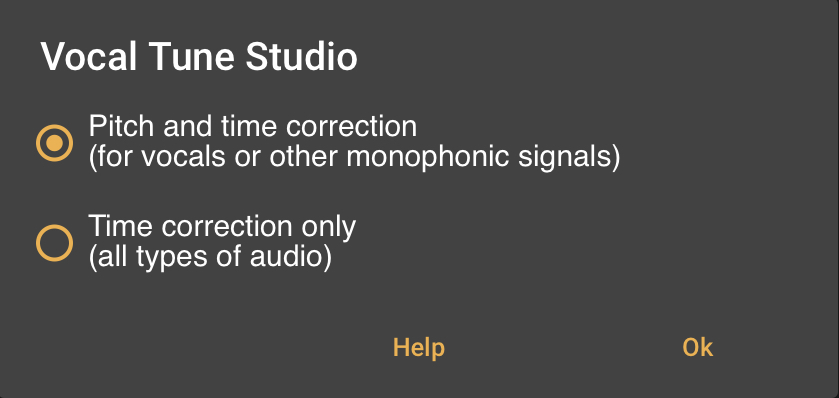
As can be seen, Pitch and time correction mode works with vocals or other monophonic signals whereas Time correction only mode can be used on all types of audio.
Full details about Pitch and time correction mode can be found here.
Full details about Time correction only mode can be found here.
Please select Help for advice on the two modes or make your selection and press Ok to launch Vocal Tune Studio in that mode.
If you select Time correction only mode you will be shown a 'First time use, quick help' screen which will introduce the mode to you, giving you guidelines as to how to use it successfully. It is recommended that you fully read this help. An equivalent first use, quick help screen will be displayed within Pitch and time correction mode after some audio has first been imported/recorded, analyzed and a key and scale estimated (if there are enough identified notes present to make such an estimation. Again, it is recommended that you fully read this to help you understand how to use Vocal Tune Studio in this mode.