Exporting your Project
So, you've perfected your mix, added any effects needed, tweaked all of the controls to sculpt your sound and set up any automation required to modulate parameters as necessary throughout the duration of your song/track. The last thing you need to do, then, is Export your project. There are several options for this and which you choose depends on what you intend to do with the exported audio (or MIDI).
Your export options can be found in the Project Options, seen below, accessed by pressing the Project ![]() button.
button.
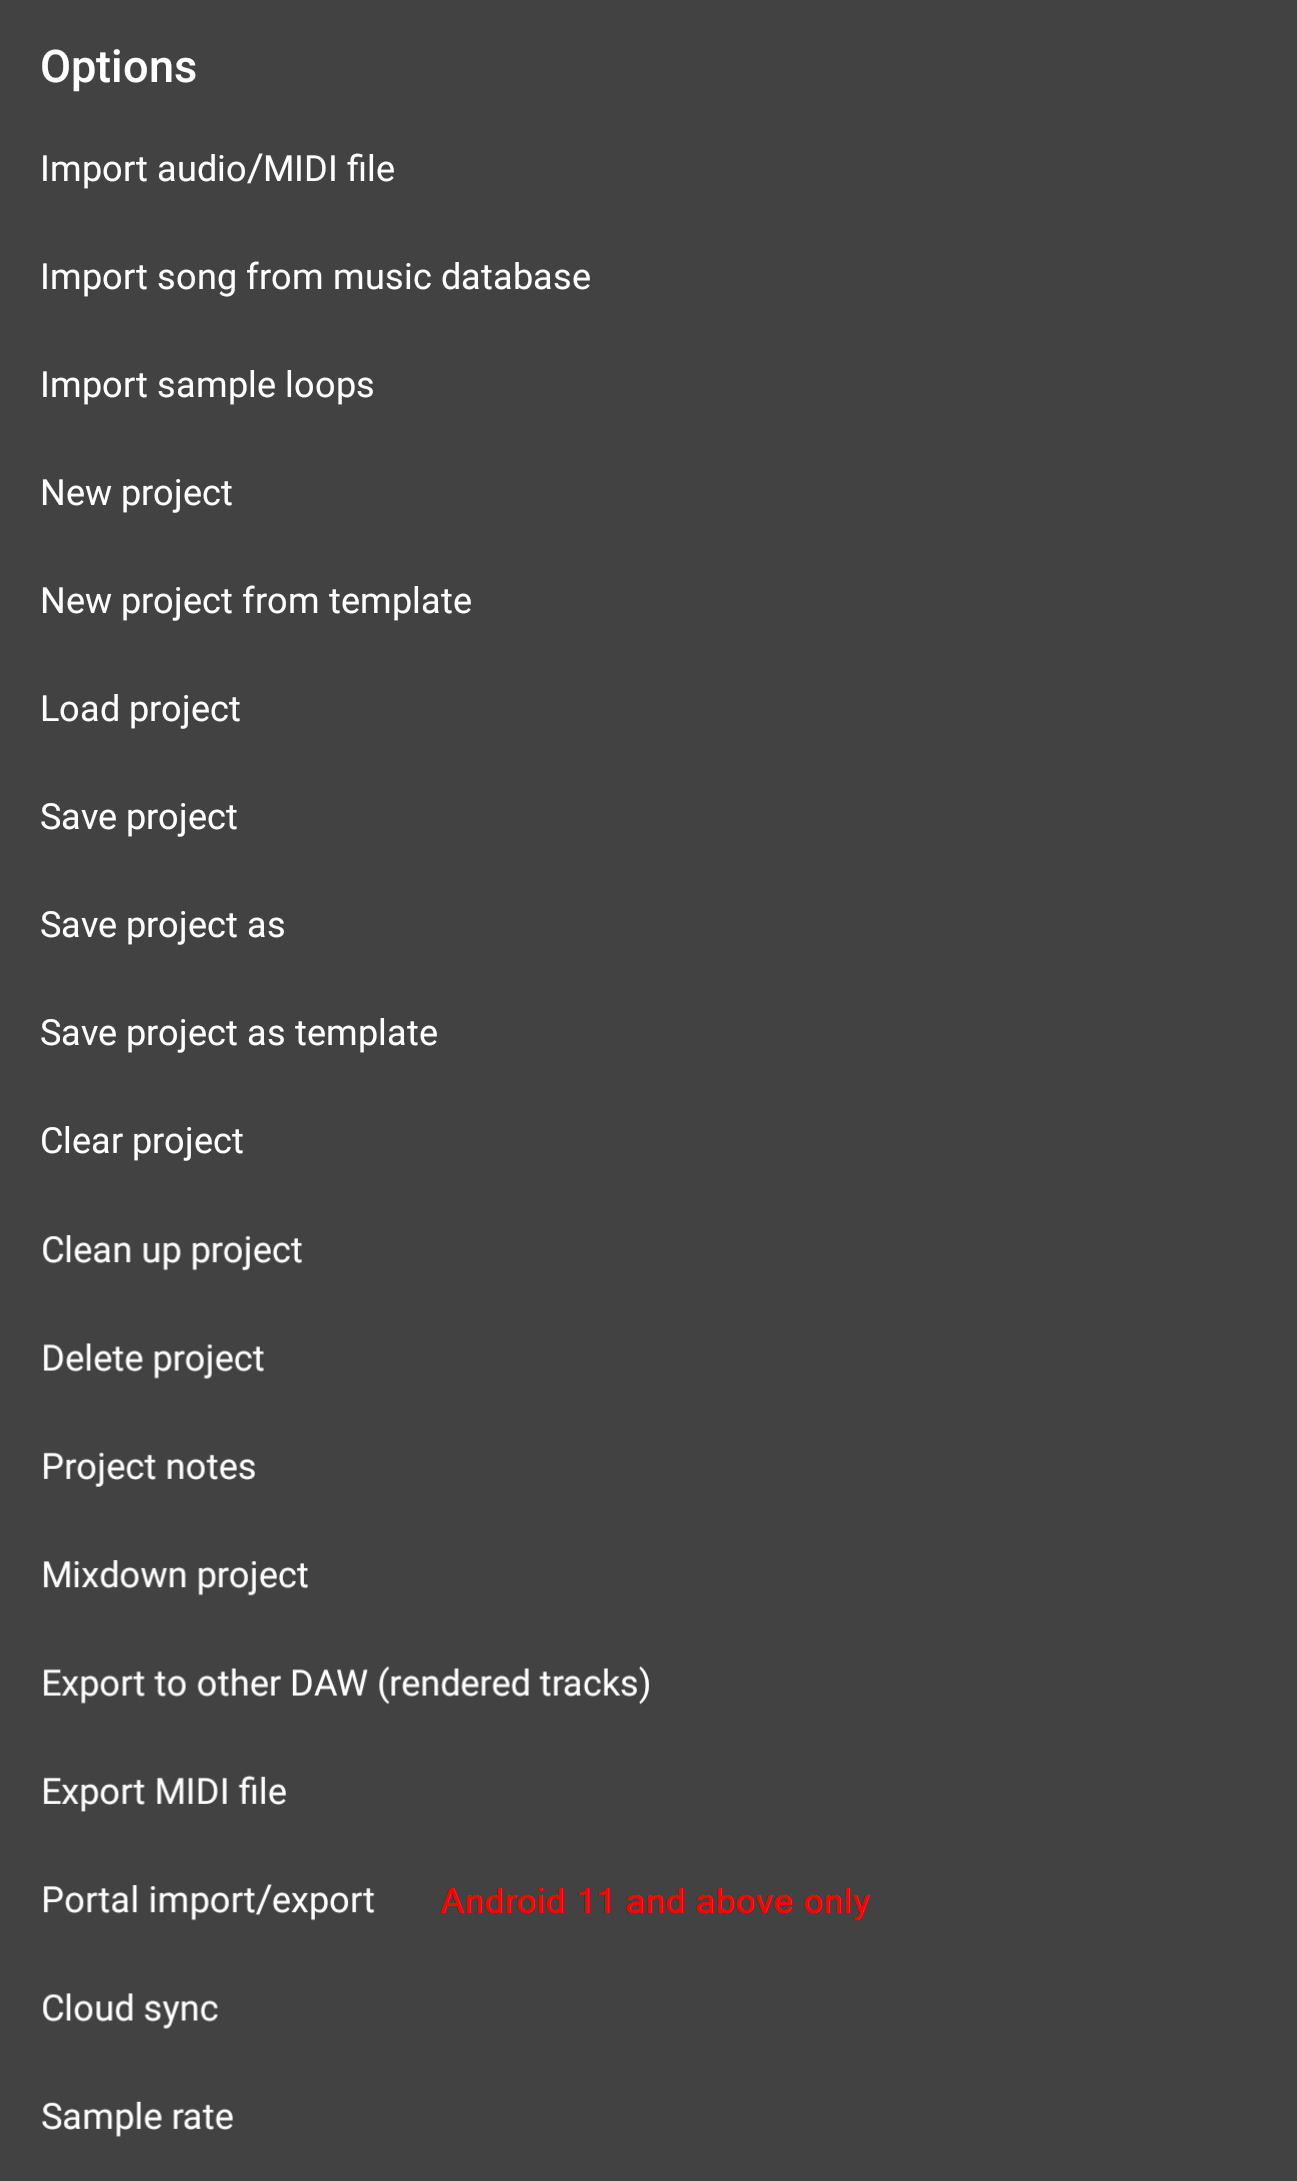
Mixdown project is what you'll want to use to create a single stereo file of your project/song/track.
Export to other DAW (rendered tracks) is what you'll want to use to export each track in your project as an individual audio file. These files (often referred to as audio stems) can then be imported into another Digital Audio Workstation (DAW). This can be really useful if you want to continue working on your project on a desktop computer, or if you want to share your project, with individual tracks intact, with someone who doesn't own Audio Evolution Mobile.
Export MIDI file is what you'll want to use to export the MIDI from your project.
Mixdown Project
To export your completed project as a stereo audio file, select Mixdown project from the Project Options. This will open the Mixdown dialog seen here.

As can be seen, this allows you to tailor the exported file to your requirements.
- Base file name (without path or extension) allows you to name your exported audio file. As it says, don't include any path or extension, just enter your desired name. The Base file name 'Example' has been entered in the screenshot above.
- Resolution allows you to select the bit depth resolution for the exported audio file. If you're not sure what bit depth is, please see here. Which bit depth resolution you select depends on what you plan to use your exported audio file for. The higher the resolution, the bigger the resulting audio file.
- File type is where you can select the file format for your export. The options are WAV, AIFF and ALAC.
- Sample Rate allows you to select the sample rate for the exported audio file. Again, as with the resolution, above, what you choose depends on what the audio file will be used for plus any file size considerations. If, for example, you are exporting the file for mastering, you'll probably want to export using the sample rate and resolution used within the project. If you are exporting to make an audio CD, you want to select 44.1kHz (44100 Hz), 16-bit for CD quality. Alternatively, if you want a smaller file size, you may want to try a lower sample rate. Obviously, exporting in any sample rate other than the one used for the project will result in the exported file having been resampled.
- Only export time span defined by range, when selected, does exactly that: it only renders and exports the area of the track defined by the Range
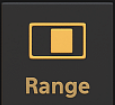 function.
- Mono, when selected, exports your track as a mono audio file rather than a stereo one. This results in a smaller file size but, obviously, any sense of the stereo sound field (from the audio on the track itself if it is stereo, or from 'spacial' effects applied to either mono or stereo audio on the track) will be lost.
- Include effect tails is selected by default and you will almost certainly want to keep it selected. 'Include effect tails' adds enough time to the end of the exported file to ensure that the 'tails' (fades to silence) of any effects will be included. So, for example, if you have a reverb effect with a long decay time applied to your track, you'll want the reverb decay/tail/fade to silence to be included in your exported audio file rather than have it cut off abruptly when the audio on the original track ends. Likewise, if you have a virtual instrument with a long release time, you'll want to have 'Include effect tails' selected to ensure that the full release/fade to silence of notes right at the end of the track are included in the exported audio file.
NOTE. The maximum possible amount of time added onto any track in order to include effect tails and instrument releases is ten seconds.
Once you have everything set up as you want it, press OK to mixdown and export your audio file.
Export to other DAW (rendered tracks)
To export your completed project as a series of audio files (stems), one for each track within the project, select Export to other DAW (rendered tracks) from the Project Options. This will open the Export stems dialog seen here.
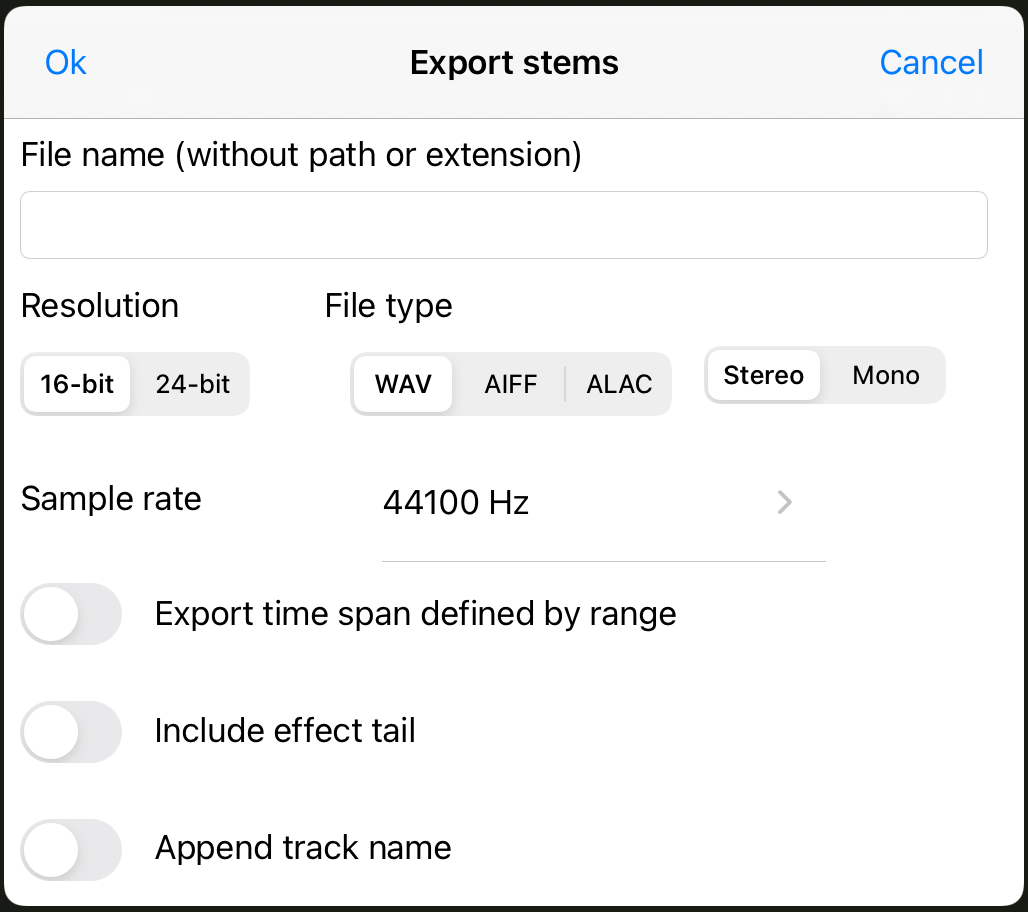
This dialog gives you similar options as when you render a track to an audio file using the Track Options because it is the same process taking place, only this time it is exporting/rendering every track at the same time and you have one additional option:.
- Append track name, if selected, will add an underscore ( _ ) and the track name to your Base file name. So, in the example above, if the track being exported was the first track in my project and still had its default name (Track 1), having 'Append track name' active would result in the exported file being named 'Example Track_Track 1.wav' (assuming WAV was selected as the file type format).
NOTE. In this scenario, despite using 32-bit floating-point processing as described here, you must ensure have all of your tracks' volume levels are peaking just below 0dB otherwise they will clip and distort.. This is because, as they are rendered, the individual track is moved back into the fixed-point domain directly, without going through any destination channel where the volume has been brought back down as described in the text linked to.
Once you have everything set up as you want it, press OK to export your audio stems. Depending on where you chose to save the audio stems to, they can be found in either the Project folder (where it can be found in the 'Samples' folder), the device Music folder, the device Download folder or (Android 11 and above only) the device Documents folder.
For help locating the Audio Evolution Mobile folder and its contents on your device, please see here (and here for Android 11 and above).
Export MIDI file
As mentioned before in this manual, a single MIDI file can contain multiple MIDI tracks. As such, selecting Export MIDI file from the Project Options allows you to export a single MIDI file containing all of the MIDI tracks in your project, ready for you to import into other applications or share with others. Making this selection opens the following dialog, allowing you to name the exported MIDI file.
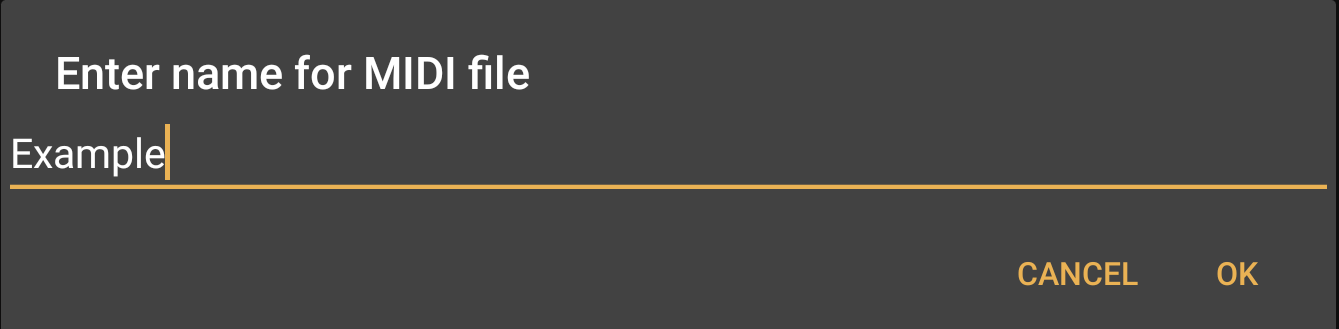
Once named, click on OK to generate the MIDI file. You will be able to find the exported MIDI file in the Project's Samples folder on your device. For help locating the Audio Evolution Mobile folder and its contents on your device, please see here.